Chapter 2: Navigational Mastery in Winter Conditions
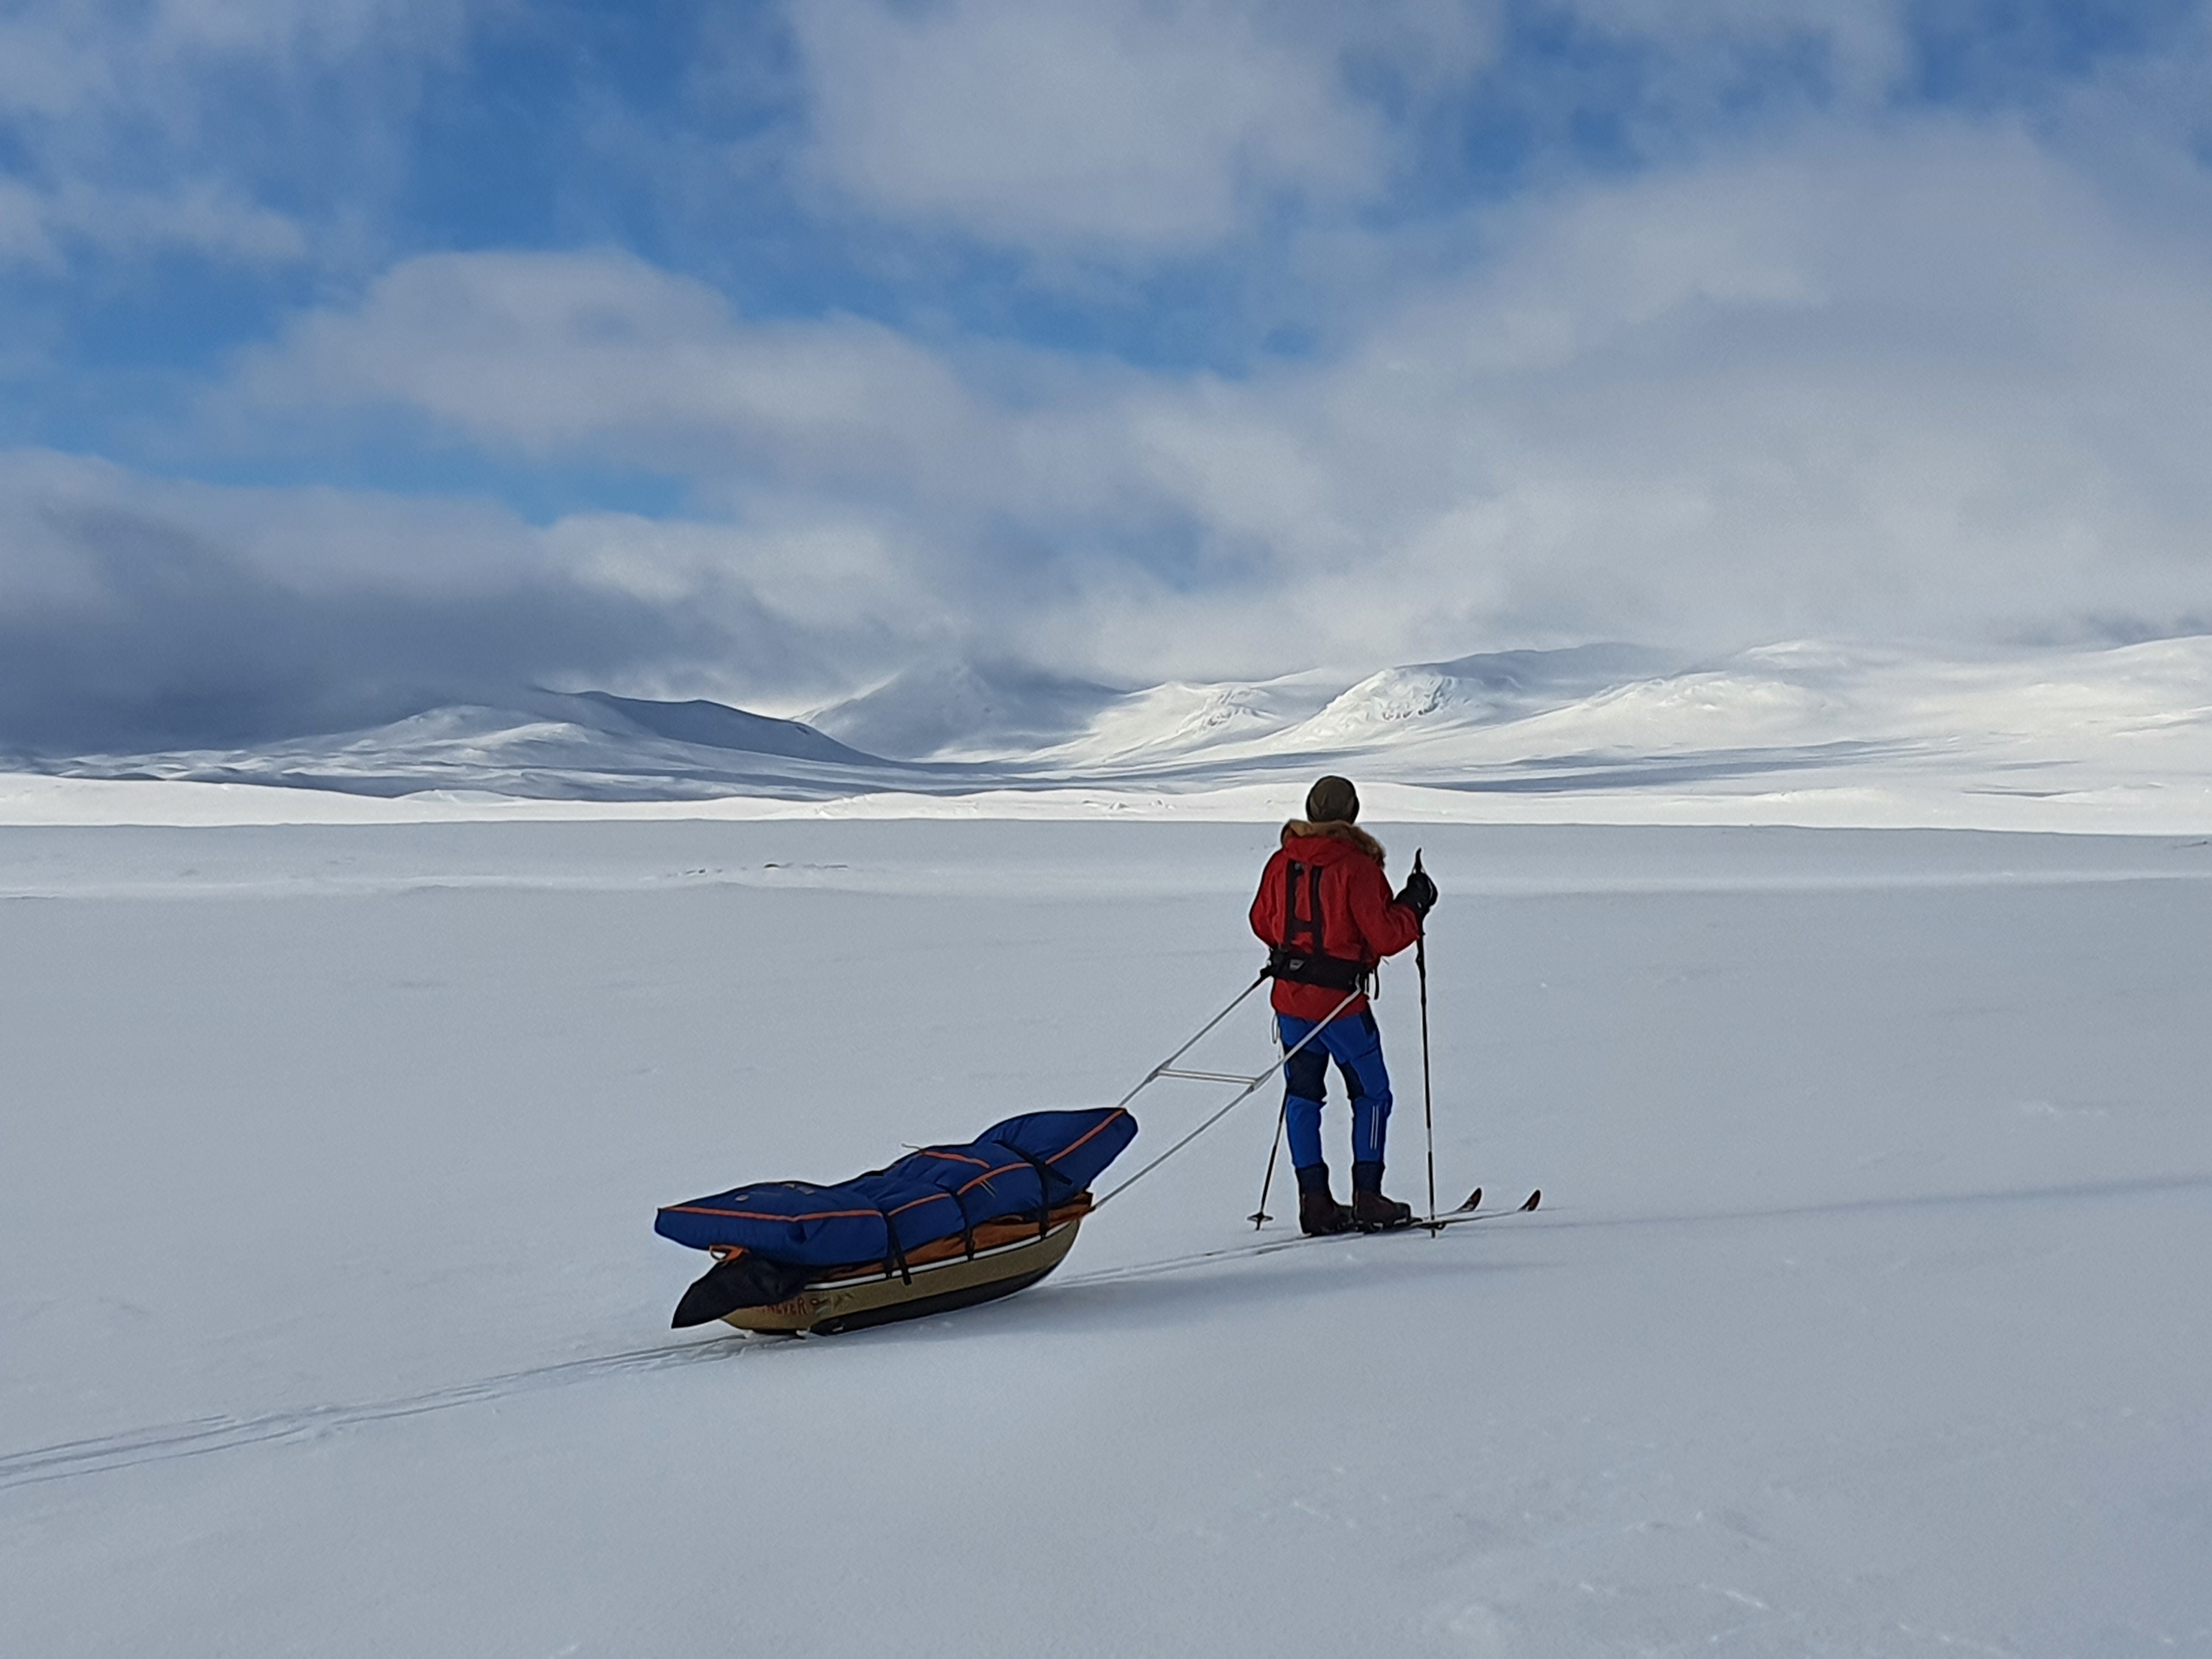
Getting around snowy landscapes in winter requires more than just adventure; it needs the right tools for safe and effective travel. This chapter looks at navigating cold areas using modern technology and traditional methods. It’s for everyone, from experienced backpackers improving their winter camping techniques to beginners wanting to try their first cold adventures. Whether you want to learn how to use digital navigation apps better or strengthen your skills with a map and compass, it’s important to know how these tools work together for a successful winter experience.
In this section, you will learn different ways to combine digital and traditional navigation tools in winter. You will learn to use GPS devices and smartphone apps while managing their battery life to stay connected in cold weather. You will also learn how to read physical maps and use compasses as reliable backup options when technology fails. This chapter provides helpful tips and advice to prepare you for confidently exploring winter landscapes, making you skilled in using modern tools and traditional navigation methods.
Digital Navigation and Power Management
Digital tools for navigation have changed how we explore the outdoors, especially in winter. Knowing how to use these tools well is important for staying safe and having fun while traveling through snowy areas.
Modern navigation apps on smartphones and GPS devices help you find your way, especially when the weather is bad or trails are covered in snow. These tools provide live information that helps you make smart choices about your route. Clear maps and the ability to find your exact location reduce the chance of getting lost.
However, just opening an app is not enough. You need to know how these tools work and their limits to use them fully. Learning to mark locations, zoom in on maps, and use maps offline are valuable skills. Understanding the land and how to read digital maps makes traveling safer and more enjoyable.
You also need to think about how winter weather can affect these devices. Cold temperatures can quickly drain batteries, so keeping your devices warm and checking battery levels often is important. A good tip is to keep your device in a pocket near your body to use your warmth to save battery. Lowering the screen brightness and closing unneeded apps can also help save power.
It’s crucial to have backup options if your device runs out of power. Carrying portable chargers or extra batteries can be a lifesaver when your main power source fails. Investing in strong backup power sources for cold conditions is a smart choice. Some modern portable chargers, like solar ones, are good for longer trips.
It’s important to prepare for problems, such as device breaking, when using technology. Having more than one way to navigate is key. A smartphone is useful, but using it with a GPS device can make your navigation stronger. Each has its strengths; smartphones are user-friendly, while GPS devices are generally tougher and last longer on batteries.
Safe navigation means thinking beyond just getting by. It’s about combining digital skills with practical readiness—balancing technology with traditional outdoor knowledge. Managing power is one part of this balance, showing how important it is to be self-sufficient in wild places where help might not be close.
Also, knowing your navigation tools before you go out, rather than during your adventure, helps you feel confident and prepared. Spend time practicing with these devices in safe places to learn their features and functions.
Lastly, remember that technology is always changing. Updating your software and maps is part of using your devices well, so you have the latest information. Many navigation apps now have updates and alerts from other users, giving you extra insights and warnings to help you make better decisions on your journey.
Outdoor Navigation Apps
- AllTrails
- Features: Extensive database of trails, user reviews, GPS tracking, and offline maps.
- Good for: Hiking and trail finding.
- Gaia GPS
- Features: Detailed topographic maps, offline capabilities, and route planning.
- Good for: Backcountry navigation and outdoor activities.
- Komoot
- Features: Custom route planning for hiking, biking, and mountain biking, along with offline maps.
- Good for: Adventure planning and discovering new routes.
- MapMyRun/MapMyHike
- Features: Track workouts, plan routes, and access a community of users.
- Good for: Fitness-oriented outdoor activities.
- ViewRanger
- Features: Topographic maps, offline access, route planning, and augmented reality features.
- Good for: Hiking, biking, and outdoor exploration.
- Outdoor GPS
- Features: Customizable maps, offline navigation, and various outdoor activities.
- Good for: General outdoor navigation.
- Locus Map
- Features: Offline maps, route planning, and tracking for various outdoor activities.
- Good for: Detailed navigation and mapping.
- BackCountry Navigator
- Features: Extensive maps for offline use, GPS tracking, and customizable routes.
- Good for: Backcountry navigation and detailed mapping.
- Wikiloc
- Features: Community-generated trails, offline maps, and GPS tracking.
- Good for: Finding and sharing trails in various outdoor activities.
- Google Maps
- Features: While primarily for road navigation, it can show hiking trails and paths.
- Good for: General navigation and exploratory hiking.
- Topo GPS
Analog Skills: Map Reading and Compass Use
Learning to navigate in winter is very important for anyone exploring the outdoors. While modern tools have changed how we explore, traditional skills like using maps and compasses are still very reliable. These old methods are especially useful when traveling in snowy areas where electronic devices can fail.
First, physical maps are very helpful when technology doesn’t work. In cold weather, electronic devices often malfunction; batteries can die suddenly, or GPS signals can get lost in clouds or remote areas. Physical maps don’t need electronics. They are always available. If you are in a snowstorm and your GPS stops working, a map will still guide you. Holding a map lets you see your route, mark important points, and understand the area, helping you stay oriented when gadgets fail. This connection to the environment helps you feel secure, knowing you have a tool that works without technology.
Also, learning to read a map is more than just finding locations. It helps you understand the land and dangers—important for anyone going into winter wilderness. Knowing how to read contour lines and terrain features prepares adventurers for what to expect. For example, spotting a steep area on a map can warn hikers about potential avalanche risks or tough climbs, allowing them to change their route to stay safe. Learning this skill helps you think ahead and make better choices.
Compasses are also essential. These tools do not need batteries or satellites and are crucial for adventures away from digital resources. They provide direction, helping explorers find north even when visibility is poor, such as during fog or snow. While a GPS shows your exact location, a compass encourages you to be aware of your surroundings, helping you figure out directions based on what you see. This skill boosts your confidence and understanding of the situation during unpredictable winter travel.
Using a compass with a map greatly improves your navigation skills. Together, they help you accurately determine where you are and where to go. This combination makes navigation easier, turning old skills into a valuable and intuitive way to move through nature. Mastering these tools builds a connection with the environment and allows explorers to rely on their skills instead of just technology.
Additionally, winter weather often changes quickly. Snow can hide familiar landmarks. Knowing how to use traditional navigation methods is important during these times. It helps with unexpected tech failures and makes the exploration experience richer. Adventurers who mix these basic skills with digital tools are better equipped to enjoy their surroundings fully. The excitement of an adventure is not just about reaching a destination; it’s also about the journey and the stories created along the way.
How to Use a Map
- Understand the Map:
- Look at the map key (legend) to understand symbols and colors (e.g., rivers, roads, trails).
- Identify the scale, which shows you how distances on the map relate to real-life distances.
- Orient the Map:
- Hold the map flat and turn it so that the physical features (mountains, rivers) match those in your surroundings. North on the map should face the same direction as North in the real world.
- Identify Your Location:
- Find recognizable landmarks on the map that you can see around you (like a lake, road, or mountain).
- Use these landmarks to pinpoint where you are on the map.
How to Use a Compass
- Hold the Compass Level:
- Keep the compass flat at waist level, away from metal objects (like watches or phones) that can affect its accuracy.
- Locate North:
- The compass needle will automatically align itself with the Earth’s magnetic field, pointing to Magnetic North. Look for the end of the needle that usually points to “N.”
- Find Your Direction:
- Turn the compass dial until the “N” on the dial aligns with the north needle (make sure your feet are pointed the direction you want to go).
- Note the degree reading where the direction you want to travel is indicated on the compass dial.
Navigate Using Both
- Set Your Bearing:
- Decide where you want to go and find the direction on the map. Use the compass to get the bearing (direction) to that point.
- Follow the Bearing:
- Move in the direction of the bearing you set. Keep the traveling direction aligned with the compass needle as you walk.
- Regularly check your position on the map to ensure you’re still on track.
- Re-orient and Check:
- Periodically stop and check both your map and compass to ensure you remain on course.
Summary
- Map: Understand symbols, orient it to the real world, and identify your location.
- Compass: Hold it level, find north, determine your bearing, and follow it to your destination.
With practice, using a map and compass becomes easier and can be rewarding for outdoor adventures!
Weather Adaptation Techniques
Tracking and adjusting to winter weather is important for anyone going into the wilderness, whether an experienced backpacker or new to lightweight camping. Knowing how to check and react to weather changes is key to having a safe and enjoyable trip. One of the easiest ways to stay updated is by using weather apps and websites.
Weather apps give real-time updates that help you make good choices outdoors. Most apps show current forecasts, including temperature, rain, and wind speed, which are all important for planning your winter activities. Features like hourly forecasts and severe weather alerts are especially useful. They help you prepare for sudden changes so you can decide whether to continue hiking or find shelter. Websites like NOAA or the Weather Channel also provide helpful information, especially when planning a longer trip in less accessible areas.
In addition to using digital tools, you can learn a lot from nature. Observing natural signs can help you understand what the weather might do. For example, a sudden drop in temperature, changes in wind, or animal behavior can indicate that the weather is about to change. Birds fly lower before storms, and increased humidity might mean snow is coming. Knowing these signs is helpful when technology isn’t unavailable or you’re out of service range.
Planning based on reliable weather forecasts is also important for staying safe in winter. Using technology and traditional methods gives you a stronger approach to navigation and planning. Before you go out, check the latest weather reports to make any necessary adjustments to your plans. If heavy snow or a storm is expected, changing your route or postponing your trip might be better. Always have a backup plan and know where to find shelter if the weather worsens. By adjusting to the weather, you protect yourself and keep a positive mindset, preventing unexpected changes from ruining your experience.
Building resilience to weather changes is essential for staying comfortable and happy during outdoor activities. Winter weather can be unpredictable, and developing mental and physical strength allows you to enjoy your trip, no matter what happens. Simple actions, like dressing in layers, carrying waterproof gear, and having warm drinks available, can make a big difference in your comfort. Staying flexible with your plans and being mindful also help you cope with changes. Accept that bad weather is part of winter and see it as a challenge rather than a setback. This positive attitude boosts your morale when things don’t go as planned.
As we deal with winter weather challenges, it’s clear that combining technology with traditional weather awareness and adaptability maximizes your chances of enjoying winter activities. Using real-time digital updates and observing nature gives you the information needed to make smart decisions. By adjusting your plans based on accurate forecasts, you ensure safety while also keeping your adventures flexible.
Avalanche Awareness and Terrain Understanding
Navigating snowy areas in winter requires understanding the challenges of the landscape and weather, especially avalanches. Identifying different types of terrain is essential for choosing safer paths. For example, knowing the differences between simple, challenging, and complex terrains can help assess avalanche risks.
The Avalanche Terrain Exposure Scale (ATES), created by organizations like Parks Canada, provides useful information. Simple terrains, which have gentle slopes or are forested, usually have lower avalanche risks. But even in these areas, there can be hidden dangers, so awareness is necessary. On the other hand, challenging terrains have clear paths for avalanches, making it important to be aware and skilled in finding safe routes. Using ATES helps outdoor enthusiasts match their skills to the terrain they plan to cross.
Another important factor for safe winter travel is recognizing avalanches’ environmental risks. Key signs to look for include the snowpack’s stability, the slope’s angle, and recent weather changes like heavy snow or warming temperatures, which can make conditions unstable. Understanding these factors helps predict and avoid high-risk areas, reducing the chances of triggering an avalanche.
In addition to recognizing terrain and avalanche risks, safety gear is crucial. If you’re skiing or even using a snowmobile, items that can save your life include an avalanche transceiver, probe, and shovel, which are tools that help find and rescue buried friends quickly. Wearing an avalanche airbag can improve survival by keeping you on top of moving snow. It’s important to not only carry these tools but also to know how to use them properly. Training in using this equipment is essential for responding well under pressure.
Continuous learning about avalanches is important for making smart choices in backcountry travel. Organizations like the American Institute for Avalanche Research and Education (AIARE) stress the need for structured courses. These programs teach participants about snow, decision-making, and rescue skills. AIARE studies show that students who take avalanche education courses tend to adopt better safety practices in the field.
While technology provides useful tools for navigation, it should support rather than replace traditional skills like reading maps and using a compass. These skills are especially important when digital devices fail due to cold or technical issues. Building these skills enhances the ability to accurately understand terrain features and make informed decisions without relying on electronic devices.
Summary and Reflections
Using digital and traditional tools to navigate winter environments can improve safety and enjoyment. This chapter discussed the benefits of modern navigation apps and GPS devices, which give real-time information and accurate location tracking. Adventurers can reduce risks from poor visibility and harsh conditions by learning to use these tools well. It’s also important to prepare for battery issues in cold weather, as having extra chargers or batteries can be very helpful. Additionally, skills like reading maps and using a compass are valuable, especially when electronic devices stop working. Knowing about the landscape, marking key points, and practicing with a compass helps with navigation and strengthens your connection to nature.
Combining new technology with traditional skills provides a complete way to navigate in winter. Staying updated on software changes and getting insights from community experiences helps outdoor enthusiasts have the latest information. However, it’s also important to practice basic skills in safe areas. This mix of digital tools and traditional methods prepares hikers to handle any challenges in winter environments. Whether you’re a seasoned backpacker improving your abilities or a beginner going on your first snowy trip, this balanced approach guarantees a more enjoyable and safer outdoor experience.
Reference List
All, B. F. (2024, November 8). Bikepacking Navigation: Smartphone vs. GPS Device (do you really need one?) | Bikepacking For All. Bikepacking for All. http://bikepackingforall.com/bikepacking-navigation-smartphone-vs-gps-device/
Avalanche Terrain Education – Beacon Guidebooks. (2023, December 29). Beacon Guidebooks. https://beaconguidebooks.com/education/?srsltid=AfmBOoq_6MqGYVXyquB-BLlZk7xOCqE2dELuT6VJ1alVgd2mmKTDUiJ2
Benton, H. (2024, February 6). Staying Safe: Human Factors and Avalanche Education. Backcountry Magazine. https://backcountrymagazine.com/stories/staying-safe-human-factors-and-avalanche-education/
Brave, D. (2024, January 13). Beyond GPS: The Importance of Traditional Land Navigation Techniques. Medium. https://medium.com/@josh.castillon/beyond-gps-the-importance-of-traditional-land-navigation-techniques-551580995236
Nations, U. (2023, January 20). Can technology help us adapt to climate change? We the Peoples. https://medium.com/we-the-peoples/can-technology-help-us-adapt-to-climate-change-ddd06264b07e
The Case for Traditional Navigation. (2019, March 21). Scott Turner Hikes. https://scottturnerhikes.net/2019/03/21/the-case-for-traditional-navigation/
Torkington, S. (2023, February). 3 ways technology is helping the world adapt to climate change. World Economic Forum. https://www.weforum.org/stories/2023/02/technology-climate-change-adaptation/
Werner, P. (2013, August 20). GPS Device or Smartphone App Navigation? SectionHiker.com. https://sectionhiker.com/reader-poll-gps-device-or-smartphone-app-navigation/